From Clutter to Control: Why You Should Be Scanning Everything
We all carry a powerful scanner in our pocket—it just happens to be your phone. Whether you’re using an iPhone or Android device, built-in tools and apps have made it incredibly easy to turn physical documents into clean, shareable digital files in seconds. Apps like Apple Notes, Google Drive, can automatically detect edges, straighten pages, enhance text, and even make documents searchable.
The real value isn’t just the scanning—it’s what it saves you from.
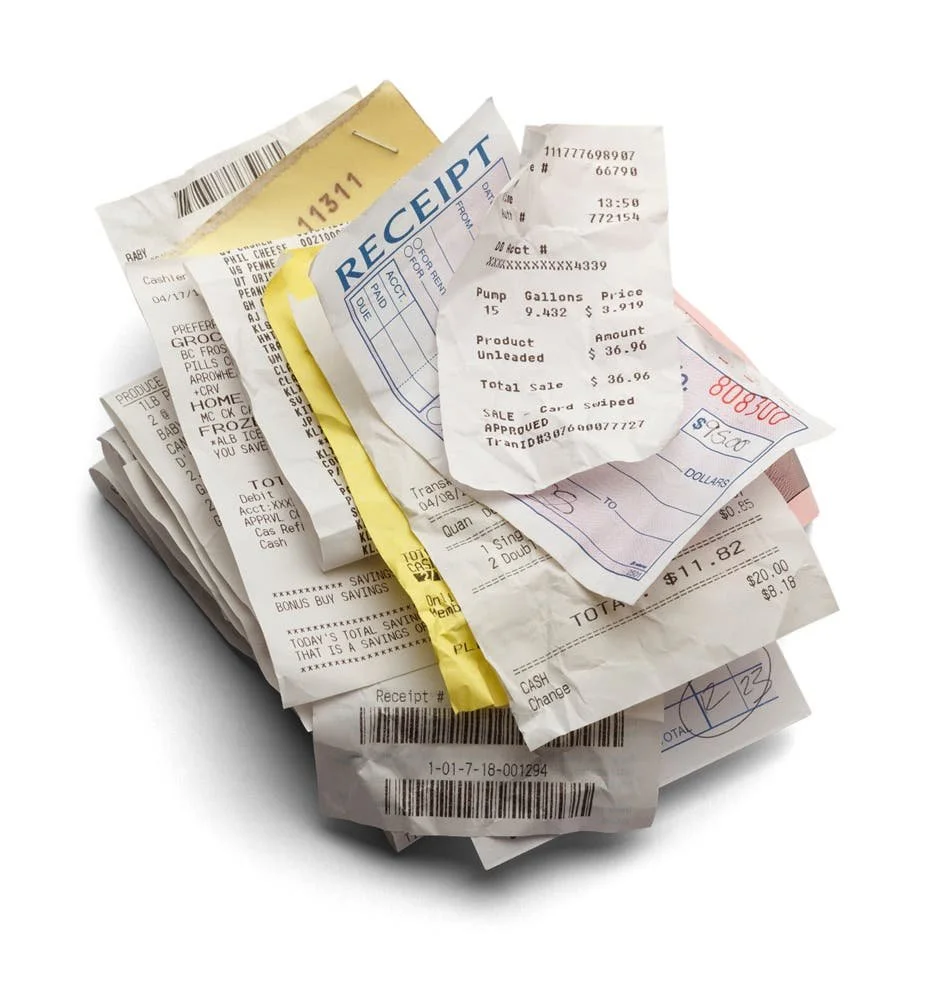
Receipts are a classic example. Instead of stuffing them in a drawer or losing them when you need a warranty claim or tax deduction, you can scan and store them instantly. They’re searchable, backed up, and accessible anywhere—no more digging through faded paper slips.
For parents, scanning children’s artwork is a game changer. You can preserve years of drawings without filling cupboards and boxes. Create digital albums, share them with family, or even print photo books—without having to throw away the originals in guilt.
If you’re studying, scanning sections of books or articles can completely change how you work. You can highlight, annotate, and organise material digitally. Many apps even use OCR (optical character recognition), meaning you can search for keywords inside your scans—something you simply can’t do with paper.
In short, scanning apps turn clutter into organised, searchable, and shareable information. Less paper, less mess, and far less time wasted looking for things you know you had… somewhere.
Here are some instructions for both iPhone and Android
Scanning Documents on iPhone Using Google Drive
Using Google Drive
Open the Google Drive app on your Android phone.
Tap the Plus (+) button in the bottom-right corner.
Select Scan from the menu.
Align the document within the camera viewfinder and press the Shutter button.
Review the captured image and use options like Crop & Rotate, Filter, or Retake if needed.
Tap Done when satisfied.
Choose a file name, format (e.g., PDF), and save location in Google Drive, then tap Save.
Scanning Documents on iPhone Using Built‑In Apps
Your iPhone can scan documents directly using built‑in apps like Notes and Files, saving them as PDFs for easy sharing or storage.
Method 1: Using Notes App
Open the Notes app on your iPhone.
Create a new note or open an existing one.
Tap inside the note, then tap the camera icon.
Select Scan Documents from the menu.
Place the document on a flat, well‑lit surface and position your iPhone above it.
Let Auto mode capture automatically, or tap the shutter for Manual mode.
Adjust the corners if needed, then tap Keep Scan.
Tap Save to store the scan in the note.
Tap the share icon to export or send the scan.
Method 2: Using Files App
Open the Files app on your iPhone.
Navigate to the folder where you want to save the scan.
Tap the three‑dot menu at the top right.
Select Scan Documents.
Position your iPhone over the document and capture in Auto or Manual mode.
Adjust corners and perspective if needed.
Tap Save to store the scan as a PDF in the chosen folder.
Method 3: Using Google Drive App
Open the Google Drive app on your iPhone.
Tap the Add (+) button at the bottom right.
Select Scan or the camera icon.
Align the document in view and tap the shutter button.
Confirm and save the scan to your Drive.
If you need assistance with this or any IT issues CONTACT ME